⚙️ Strategic Combinations
These leader + civilization combinations are for players who enjoy strategy, tactics, and making several mechanics click together. Each one begins with a practical game plan, then follows that plan through a leader and three civilizations whose abilities reinforce it in different ways.
A strong combination gives every Age a job: Antiquity establishes the engine, Exploration multiplies it, and Modern converts it into a score lead. The primary leader is the one whose ability supports that engine most consistently across all three Ages. The leader variants preserve the civilization sequence while changing its emphasis, pace, or likely victory.
1. 🏛️ The Wonder Builder
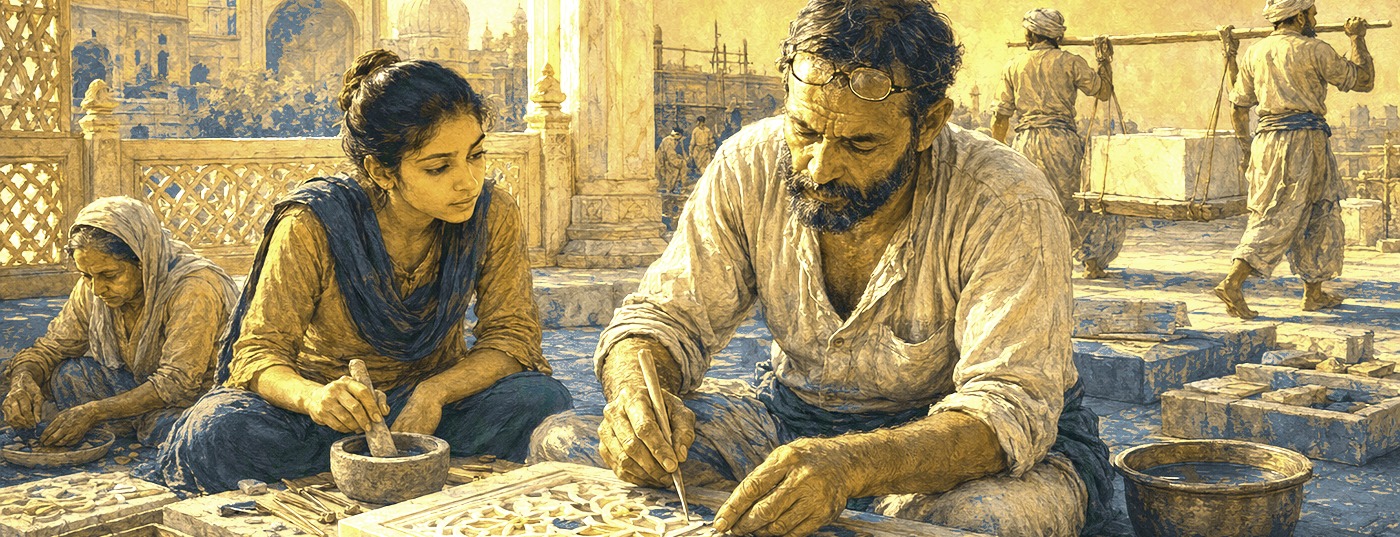
Turn one riverside production center into a three-Age monument economy.
| Element | Recommendation |
|---|---|
| Leader + civilizations | Hatshepsut + Egypt → Songhai → Mughal |
| Win with | Cultural; Economic fallback |
| Game setup | Continents or Pangaea Plus |
| Religion | Divine Inspiration supplies Missionaries as you build Wonders; choose Apostolism if rival Wonder cities are realistic conversion targets |
| Single-civ option | Egypt in all three Ages; its river Production stays useful, and its documented Exploration Syncretism with Abbasid adds dense scholarship to the monument core |
This combination is trying to create one landscape where every Age rewards the same decision: settle a strong river and turn it into monumental real estate. Hatshepsut + Egypt get the first important Wonders onto the map before rivals can claim them. Songhai then makes the river Cities around those monuments richer and more productive, so the historic core keeps improving instead of becoming a museum you have outgrown. Mughal closes the loop by doubling Gold and allowing Wonder purchases. That comes with a 25% penalty to every non-Food yield and a steep purchase premium, so Modern is not business as usual: the treasury has to replace some of the Production and Culture you gave up. Reserve central Wonder tiles before Districts consume them, and build the irreplaceable early Wonders yourself. By Modern, bank Gold rather than buying every incremental upgrade; spend it on Wonders that complete a scoring cluster, exploit old adjacency, or deny a rival something decisive.
Leader variants. Alexander changes this into a wider, more aggressive monument game: spread Wonders among non-Capital Cities, especially on another continent, and use conquest to acquire the land. Augustus makes it taller and steadier, with a network of Towns feeding Production into one marble Capital.
2. 🔬 The Tall Specialist Empire
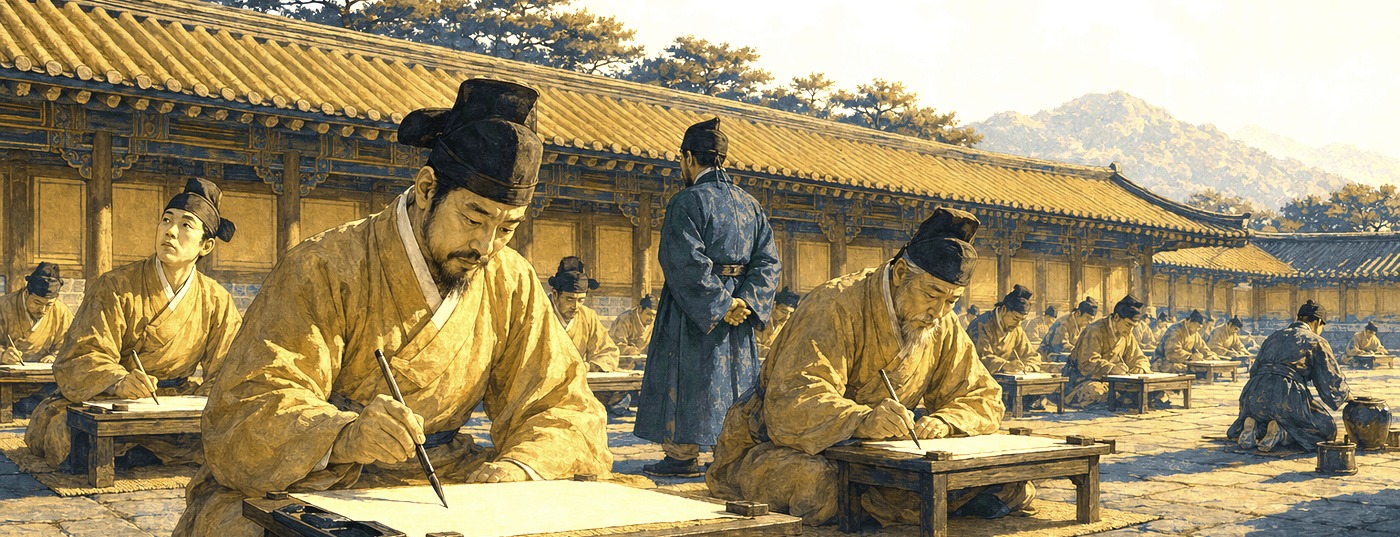
Grow one exceptional Capital and turn its population into research.
| Element | Recommendation |
|---|---|
| Leader + civilizations | Confucius + Han China → Ming China → Joseon |
| Win with | Scientific; Cultural fallback |
| Game setup | Continents |
| Religion | Sukha rewards converting Specialist settlements with Relics; Interfaith Dialogue turns broad conversion into Science |
| Single-civ option | Khmer in all three Ages. Keep one enormous river Capital and leave the rest as Towns so its Growth bonus compounds without the per-City Happiness penalty |
The aim is not simply to produce Science; it is to make each new person in the Capital more valuable than the last. Confucius accelerates Growth and pays Science for Specialists, while Han turns completed Science Buildings into additional population. Ming then places a large multiplier over the Capital you have already spent an Age growing. Joseon finishes by raising Specialist capacity in the Capital and Seowon Cities while allowing Towns to buy the basic Science and Culture Buildings they need. The shape of the empire matters: one exceptional research center, a small number of supporting Specialist Cities, and Towns that feed them without competing for investment. Build high-adjacency Quarters before filling Specialist slots so each assignment lands on infrastructure worth multiplying. During the Ming Age, prefer Traditions whenever they serve the plan because every slotted Social Policy costs 15 Science per turn. Convert a Town only when it can support a real Specialist district rather than merely adding another City to manage.
Leader variants. Ada Lovelace makes the combination less dependent on raw population and more interested in Masteries, converting each research tree into progress on the other. Catherine the Great turns the same educated core toward Great Works and Tundra Culture, giving the run a more Cultural finish.
3. 💰 The Trade Network
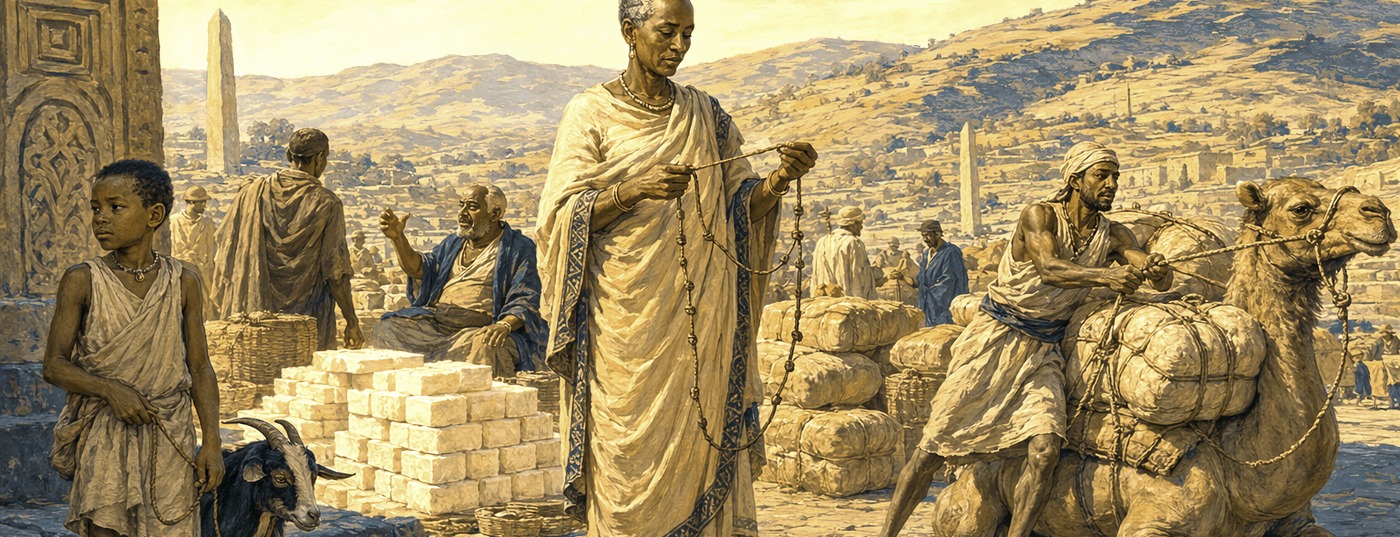
Make every new partner increase the value of the routes already running.
| Element | Recommendation |
|---|---|
| Leader + civilizations | Xerxes (Achaemenid) + Aksum → Chola → Qing China |
| Win with | Economic; Cultural fallback |
| Game setup | Archipelago or Fractal Continents. Use the Explorer Triumph Set only when discovery and Distant Lands are central to the network |
| Religion | Dawah converts a destination whenever you establish the Trade Route you already wanted |
| Single-civ option | Aksum in all three Ages. Unlimited range and mutual route capacity remain valuable on every map and make other leaders want to trade with you |
This is a network strategy rather than a collection of individually profitable routes. Xerxes rewards the act of connecting the map, and Aksum removes distance as the early constraint while raising route capacity for both sides. Chola then pays Gold and Influence for every active route, giving you the diplomatic currency to negotiate still more access. Qing converts the mature network into imported Resources, Gold, Culture, GDP, and Land Unit strength. The cost is explicit: every Qing Trade Route removes 6 Science, so the final Age asks you to cash in the research pace you built earlier for an Economic lead. Meet widely, keep Merchants moving, and open a first route to a new civilization before sending a second route to an old partner. Under Chola, use Improve Trade Relations before limits become a bottleneck; under Qing, import broadly enough to justify the Science loss rather than preserving routes that add little.
Leader variants. Machiavelli makes the network more political: accepted Diplomatic Actions pay Gold and passive Influence keeps proposals flowing. Amina makes it more territorial, turning assigned Resources into recurring Gold and giving the trade empire a strong Plains-and-Desert army.
4. 🕊️ The City-State Network
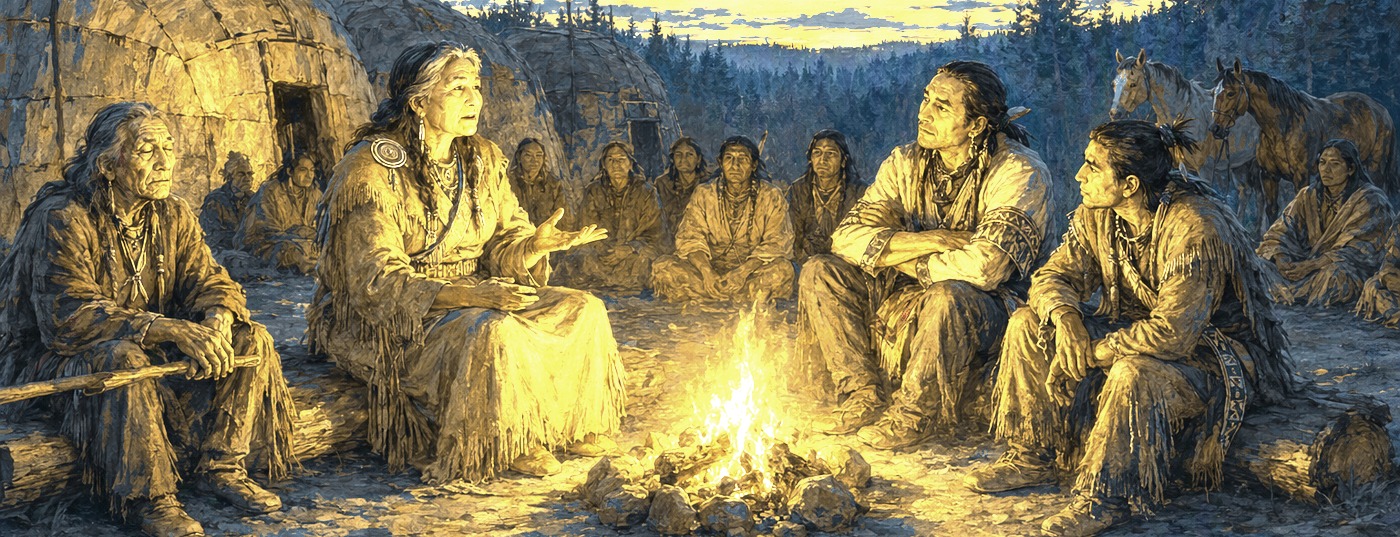
Turn Influence into suzerainty, then make every City-State pay several yields at once.
| Element | Recommendation |
|---|---|
| Leader + civilizations | Tecumseh + Greece → Shawnee → Siam |
| Win with | Cultural; Economic or Military fallback through Tecumseh |
| Game setup | Continents or Pangaea Plus, with enough reachable Independent Powers for the network to grow |
| Religion | Icons grants two Relics the first time you convert each City-State, adding another return to the partners you already protect |
| Single-civ option | Greece in all three Ages; its documented Modern Syncretism with French Empire adds the French Unique Military Unit to cover a diplomatic empire's military weakness |
The goal is to make City-States part of the empire without absorbing them. Tecumseh turns every suzerainty into Food, Production, Combat Strength, and Dominion, so diplomatic expansion strengthens the home front, the army, and the scoreboard. Greece adds Culture from Diplomatic Actions and Tourism from suzerainties. Shawnee makes each City-State expand the Capital's Resource Capacity, and Siam can secure a crucial suzerainty immediately before turning the full network into Tourism. One Influence investment is therefore paying several times: unique suzerainty rewards, leader yields, civilization yields, resources, defense, and eventually victory score. Explore early enough to meet Independent Powers before rivals establish a lead. Pick races you can actually win, commit Influence decisively, and defend the resulting City-States from conquest; a dead partner returns nothing. Save Siam's immediate-suzerainty action for a contested target or a reward that unlocks the next part of the plan.
Leader variants. Lakshmibai changes the relationship from protection to incorporation: defeated units fund Influence, Incorporate is easier, and each absorbed City-State hands over its army. Machiavelli keeps the network independent but makes it more transactional, using passive Influence and accepted proposals to fund the diplomatic machine.
5. 🌍 The Wide Resource Empire

Claim difficult land, improve everything valuable, and turn the map itself into GDP.
| Element | Recommendation |
|---|---|
| Leader + civilizations | Amina + Mississippian → Inca → America |
| Win with | Economic; Military fallback from the large settlement base |
| Game setup | Continents Plus or Fractal Continents. The Explorer Triumph Set rewards the discovery and expansion this combination already pursues |
| Religion | Evangelism rewards converting foreign Distant Lands settlements; Stella Maris helps Missionaries cross the same water as your expansion |
| Single-civ option | Inca in all three Ages; its documented Modern Syncretism with Nepal lets Warehouse bonuses reach the mountain economy you already built |
This combination treats land quality as something you create rather than something the map gives you. Amina adds Resource Capacity and Gold for assigned Resources, while Mississippian uses Resource adjacency to grow and build the first settlement network. Inca then opens mountain country that rivals struggle to use and can generate Homelands Treasure Convoys from Cities working enough Mountains. America turns the final land grab into immediate income and Production: improving a Resource pays 150 Gold and every Resource adds Production. The empire grows wide because each new claim has a specific job, not because empty territory is automatically valuable. Settle Resource clusters first, then claim difficult terrain only when your abilities can make it productive. Raise the Settlement Limit before crossing it, connect new settlements quickly, and keep enough Resource Capacity to slot what you improve. In Modern, send Prospectors beyond normal borders and develop claims immediately so the one-time Gold arrives while it can still change the race.
Leader variants. Pachacuti narrows the plan toward mountains, cutting Specialist Maintenance near them and converting Food into Production. Isabella pushes it outward instead, subsidizing the navy and paying heavily for Natural Wonders, especially in Distant Lands.
6. 🎉 The Celebration Engine

Use Happiness to keep the empire in a near-permanent scoring cycle.
| Element | Recommendation |
|---|---|
| Leader + civilizations | José Rizal + Maurya → Hawai'i → Mexico |
| Win with | Cultural; Economic fallback |
| Game setup | Continents and Islands |
| Religion | Vipassana adds Happiness from converted settlements; Theocracy turns displayed Relics into more Happiness |
| Single-civ option | Maurya in all three Ages. Its Happiness infrastructure and full-army healing make Celebrations useful whether the run remains peaceful or turns aggressive |
The point is not merely to stay Happy; it is to make the interval between Celebrations so short, and each Celebration so useful, that the empire operates in a recurring surge. Rizal reaches the threshold faster and remains in the Celebration longer. Maurya supplies Happiness from several Building classes and fully heals Land Units whenever a Celebration begins. Hawai'i turns Marine Terrain into a broad Happiness-and-Culture foundation. Mexico then commits to Revolución, gains Happiness from slotted Traditions, and doubles the Tourism scored by entering Celebrations. By Modern, the same meter is maintaining the empire and closing the Cultural race. Build surplus Happiness before penalties appear, and favor Traditions that remain useful after the Age changes. Do not let a Celebration arrive without a purpose: time it to heal an army, finish a construction push, trigger Government effects, or score Tourism when the race is close.
Leader variants. Ashoka (Renouncer) changes the cycle into peaceful expansion, converting excess Happiness into Food and increasing Food during Celebrations. Ashoka (Conqueror) reverses the mood entirely: declaring a Formal War starts the Celebration, excess Happiness becomes Production, and the army gains strength against Fortified Districts while the festival lasts.
7. ⚔️ The Commander Army
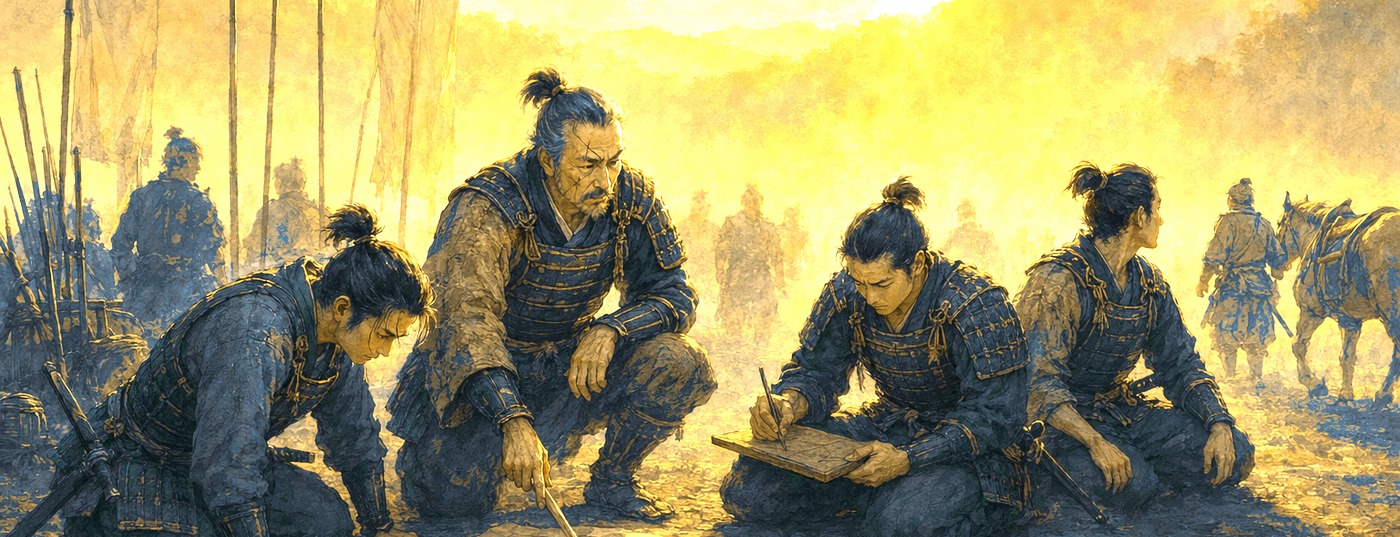
Invest in Commanders early, make their experience pay twice, and carry the promotions into Modern war.
| Element | Recommendation |
|---|---|
| Leader + civilizations | Trung Trac + Persia → Sengoku Japan → Prussia |
| Win with | Military; Scientific fallback from Sengoku's XP conversion |
| Game setup | Pangaea Plus. Choose the military-only Conqueror Triumph Set only if you intend to fight throughout the game |
| Religion | Millenarianism automatically converts captured Settlements, so conquest advances religion without diverting the army |
| Single-civ option | Mongolia in all three Ages; its documented Modern Syncretism with Prussia gives a cavalry conquest engine an industrial finish |
This is a long investment in officers rather than a succession of disposable armies. Trung Trac supplies a unique Commander and accelerates Commander experience. Persia starts Army Commanders with a free Promotion, so the first campaigns already operate with better command coverage. Sengoku Japan then turns Army Commander experience into Culture, Science, and Influence, replacing normal Mountain and Resource adjacencies with a war-driven yield economy. Prussia cashes in the veteran force by granting Combat Strength for hostile relationships and keeping Trade Routes alive through war. Promotions earned early remain relevant when the weapons and uniforms change. Keep Commanders behind the front line, pack damaged units before they are lost, and rotate fresh troops through the Command Radius. Under Sengoku, stop designing Cities around the adjacencies its ability removes; combat is now part of the research plan. Do not manufacture hostility as Prussia until the promoted army is ready to exploit it.
Leader variants. Genghis Khan makes the force faster and cavalry-dominant, with stronger mounted units inside Command Radii and a once-per-Age conversion of Independent troops. Friedrich (Oblique) makes it more scientific, paying Science for Commander Commendations and producing Infantry from Tech Masteries and Science Buildings.
8. ⚓ The Naval Raider
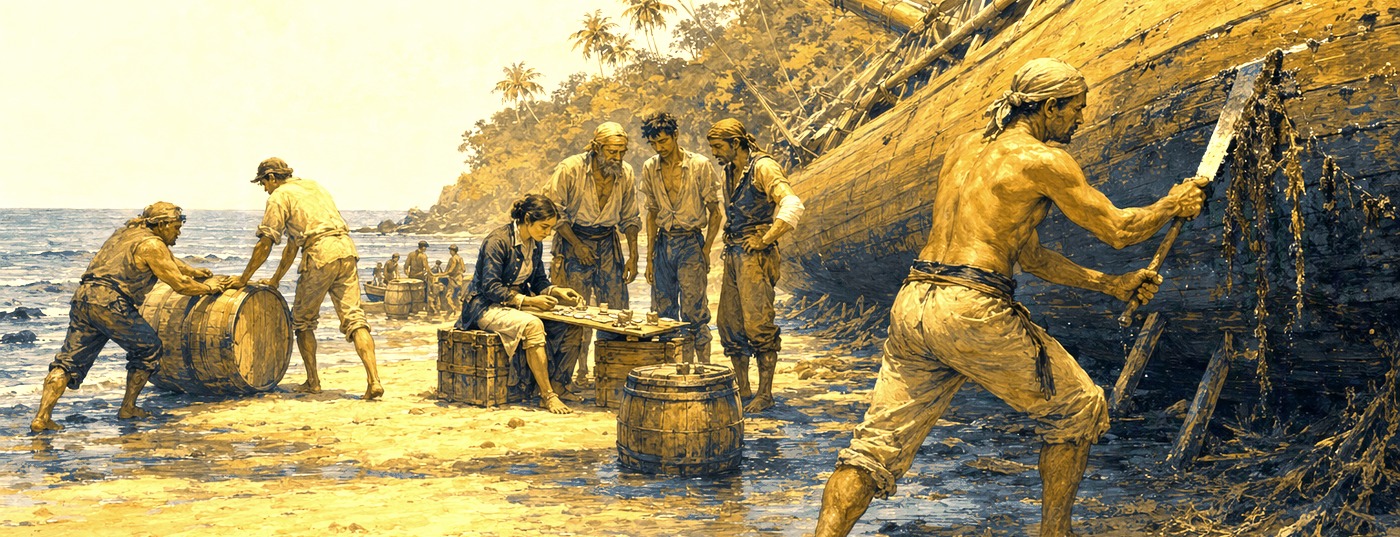
Use the sea as an open border, an income source, and the fastest route to weak targets.
| Element | Recommendation |
|---|---|
| Leader + civilizations | Edward Teach + Carthage → Republic of Pirates → Great Britain |
| Win with | Economic; Military fallback |
| Game setup | Archipelago or Shattered Seas. Choose Explorer for discovery and map control, or Conqueror if naval war is the run's main objective |
| Single-civ option | Republic of Pirates in all three Ages. Its border access, naval-kill Gold, and unusual Settler economy define the playstyle without needing a second ability |
This combination uses the sea to evade the normal costs of distance and borders. Carthage supports a one-City coastal economy with extra Merchants and Colonists, creating many ports without diluting the core. Republic of Pirates then crosses borders without War, earns Gold from naval kills, and expands through captured Settlers plus the three Settlers granted by its technologies and civic. Great Britain transforms the improvised raiding fleet into an industrial navy: Buildings gain +25% Production to construct and +25% Gold to purchase, coastal Buildings add Science, and Battersea Power Station produces an additional Naval Unit whenever you train one. The fleet begins as an economic weapon and ends as a production line. Scout trade lanes and vulnerable coasts before deciding what ships to build. Use naval flanking, plunder routes without declaring War when the ability allows it, and capture only Settlements that improve reach or control a useful harbor. In Modern, finish Battersea before the main fleet queue so every expensive unit is duplicated.
Leader variants. Sayyida al Hurra makes the run covert and Cultural: Espionage creates warships, stationed ships generate Culture and Influence, and Counter Spy cannot stop her. Yi Sun-sin makes it a disciplined Science navy, unlocking Fleet Commanders early and converting naval victories into research.
9. 📜 The Great Work Engine

Build the collection pipeline first, then fill it with Codices, Relics, and Artifacts.
| Element | Recommendation |
|---|---|
| Leader + civilizations | Catherine the Great + Maya → Iceland → Russia |
| Win with | Cultural; Scientific fallback through Codices |
| Game setup | Continents. The compact Classic Triumph Set suits a tightly directed Culture-and-Science game |
| Religion | Choose the Reliquary Belief whose targets the map actually provides; Theocracy adds Happiness to the Relics you display |
| Single-civ option | Iceland in all three Ages. A Relic from every Civic Mastery supplies the collection directly; use Affirmation unless a verified Syncretism choice clearly improves the engine |
The collection is not the first thing you build; the pipeline is. Catherine adds Culture to Great Works and an extra slot to the Buildings that display them. Maya keeps both research trees moving in Antiquity, helping generate Codices without abandoning Culture. Iceland then grants a Relic for every Civic Mastery, supplying works directly instead of depending on conversion targets. Russia completes the network with the Hermitage's three slots and Culture in every Settlement that displays a Great Work. The result is not one spectacular museum in the Capital but an empire where research produces objects and objects make every developed Settlement more valuable. Construct display capacity before the next wave of works arrives, and pursue useful Tech and Civic Masteries instead of rushing only the ends of the trees. In Modern, place at least one Great Work in each viable Settlement to trigger Russia's distributed Culture before concentrating the best pieces in the Hermitage.
Leader variants. Ada Lovelace shifts the emphasis from collecting to mastering: Tech Masteries pay Culture and Civic Masteries pay Science, making Codices and research tempo more important than extra display slots. José Rizal shifts it toward public Culture, using faster, longer Celebrations and Narrative Events to support the Tourism produced by the collection.